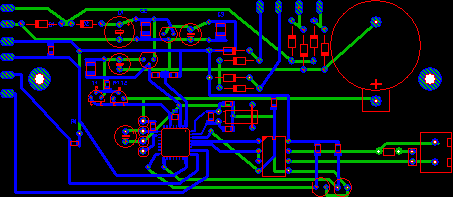
Tracks
To draw a copper track select the corresponding
mode from the left toolbar:
Move the mouse cursor to the layout. The cursor
will appear with the diameter of the track
width. The first click defines the start point of the track. Now move the mouse
to the destination point of the track. Use the
SPACE key of your keyboard to find the optimal route for the track. Click again to fix the track and
continue with the next segment. Use the right
mouse button to abort the process.
Tip:
Hold down the CTRL key of your keyboard to reach
positions that are off the grid.
Adjust the width of a track with the tool from
the left toolbar:
The thinnest track width depends on the output
device (screen, printer, etc.). A width of 0
will cause the device to produce the thinnest line that is available with the
device.
If you prefer certain values for track width of
your layout, you may store these values to a
local popup
menu that opens, if you click to the button
that is on the left of the width input. Select
ADD to add the current width to the popup menu. You may now easily call the stored value from the popup whenever
needed. To remove a value from the popup menu,
select the value and then call REMOVE from the local
popup menu.
Modifying existing tracks
To modify an existing track, select the track.
The edges of the track will be painted with
blue points. You may move the edges of the track to another position, while
holding the left mouse button.
If you click with the right mouse button to one
of the blue edges, a local popup menu will
appear that allows you to REMOVE or ADD CORNER edges or to SPLIT TRACKS.
Whenever you select a track, the track width is
displayed in the width-input field. You may now
adjust another track width for the track (and for all other tracks that are
selected).
Whenever you have selected a track, the
width-input field will be displayed in red. This indicates, that any changes of this value will causes directly
changings on your layout.


No comments:
Post a Comment