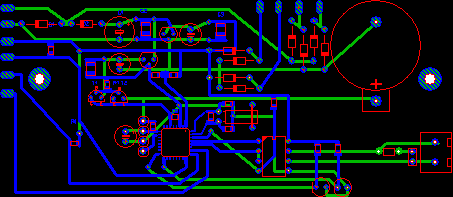
The grid allows you to place layout elements
precisely and very efficiently. The grid capture is always active and is displayed as long as the zoom is
adjusted to appropriate values. The grid
display is disabled when zoom factor is too small to display the grid, but the capture will still remain
active.
To turn off the capture completely hold down
the CTRL-key on your keyboard, while
moving objects.
You may change the grid size whenever you like.
This will not have any effect to the layout. If
you can not reach the wanted position of the board, try to decrease the grid
size. It is recommended to use 1/10 Inch (=2,54
mm) as default grid size, or fractions of
this.
To adjust the grid size click to the bottom in
the left toolbar:
You will get the following popup:
The popup menu offers seven default values for
the grid, which are suitable for most applications. You can add your own grid values to the popup menu.
Call ADD NEW
GRID
VALUE... from the popup menu to add
user-defined grids to the popup menu. You may
enter values from 0,01 mm to 99,9 mm for the grid size. Confirm the value
with OK and the grid will now be available from
the grid popup menu and is activated immediately.
User-defined grid values are listed below the
default grid values in the popup menu. To remove user-defined grids from the popup menu, you have to activate
the grid entry that has to be deleted. Call
REMOVE CURRENT GRID
VALUE from the grid popup menu. (The current grid is indicated with a small
hook.)
Tip:
Holding down the CTRL-key of the keyboard turns
off the grid-capture.
Subdivisions
Normally every fifth line of the grid is
thickened to simplify the orientation. You can influence this behavior with the entry SUBDIVISIONS in the popup menu.
Show/Hide grid
With the last option in the popup menu you can
show or hide the grid.
Note that the grid capture is still active, even
if you hide the grid.


No comments:
Post a Comment