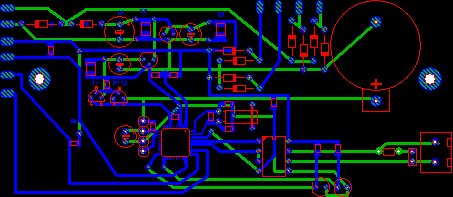
Execute the PRINT command from the
FILE item of the main menu or from the toolbar:
You will get a preview of the printout, and the
print dialog offers several print options.
The preview will show immediately which effect an
option will have to the printout.
The paper is displayed as a white page. The red
frame is indicating the printable area of the
paper. The size of this area is depending on your printer and his
driver.
To adjust the position of the printout on the
page just klick on the paper and move the printout to the desired position. What you see is what you
get!
On the left side of the preview you have
several options:
- LayerSelect the layers, you wish to have on the printout. You can define
a seperate color for each layer. Just click on
the color-field on the right of each layer.
- Special layerHere you can define solder-masks or drilling-plans.
Solder-maskThe solder mask is created from the pads and/or SMD-pads of the layout. Pads are printed with a diameter that is raised by a defined value. The drillings of the pads are filled. With the button OPTIONS... you can define the properties of the solder-mask.
DrillingsThis option prints the diameter and the positions of all drillings. With the button OPTIONS... you can define the text-height. - MirrorThis option mirrors the printout.
- Targets, OutlineThe option TARGETS adds crosses to the printout, to mark the
corners of the board. The option OUTLINE prints a frame that shows the outline of the
board.
- Scanned copyThis option prints a scanned copy (bitmap) together with your
layout.
- ScaleThis option allows magnifications from 10% ... 1000% of the printout.
At the top of the preview there are additional
functions:
- CentreThis will centre the board in the middle of the page.
- ClipboardThis will copy the actual preview as a bitmap to the global
clipboard. Other programs can paste this
bitmap.
- TileThe option TILE prints the layout several time side by side to a
page. Enter the number of repetitions for X-
and Y-direction and the distance between the layouts.
- CalibrationSome printers may need a calibration to produce printouts that are
exactly true to scale.Example: A line has a length of 200 mm but the printer produces a
line with a length of 201 mm. In that case
enter a factor of 200 mm / 201 mm = 0,995 for correction. The printer will then print true to scale.
- SetupUse the SETUP button to select and adjust the printer. The current
printer is displayed in the headline of the
preview dialog.
- PrintStarts the printout immediately.
- CancelCloses the preview and returns to the editor without
printing.


No comments:
Post a Comment