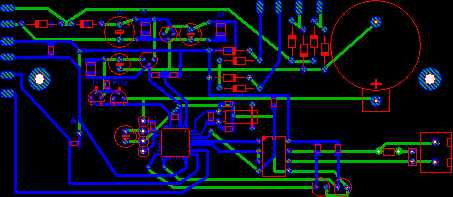
The photoview lets you take a look at your board
as if it was already manufactured, with
drillings, silk screen, etc. This helps you to find typical mistakes like wrong
mirrored components or text.
To activate the photoview, just click on the
corresponding button in the left toolbar:


Side 1 = C1/S1
This will show you the board from side 1 (top).
The layer C1 and S1 are visible on the board.
Side 2 = C2/S2 (mirrored)
This will show you the board from side 2
(bottom). The board is turned round. The layer
C1 and S1 are visible on the board.
with silkscreen
With this option you can show or hide the
silkscreen of your board.
X-Ray
With this option, the board becomes a little
transparent, so that the other board side shines through.
While the photoview-mode is active, you can use
the normal zoom-functions with your mouse.
Pls Admin kindly help me with a tutorial on snap to grids and metric grids in sprint layout
ReplyDelete